The Best Way to Reheat Cheese Pizza and Keep It Crispy

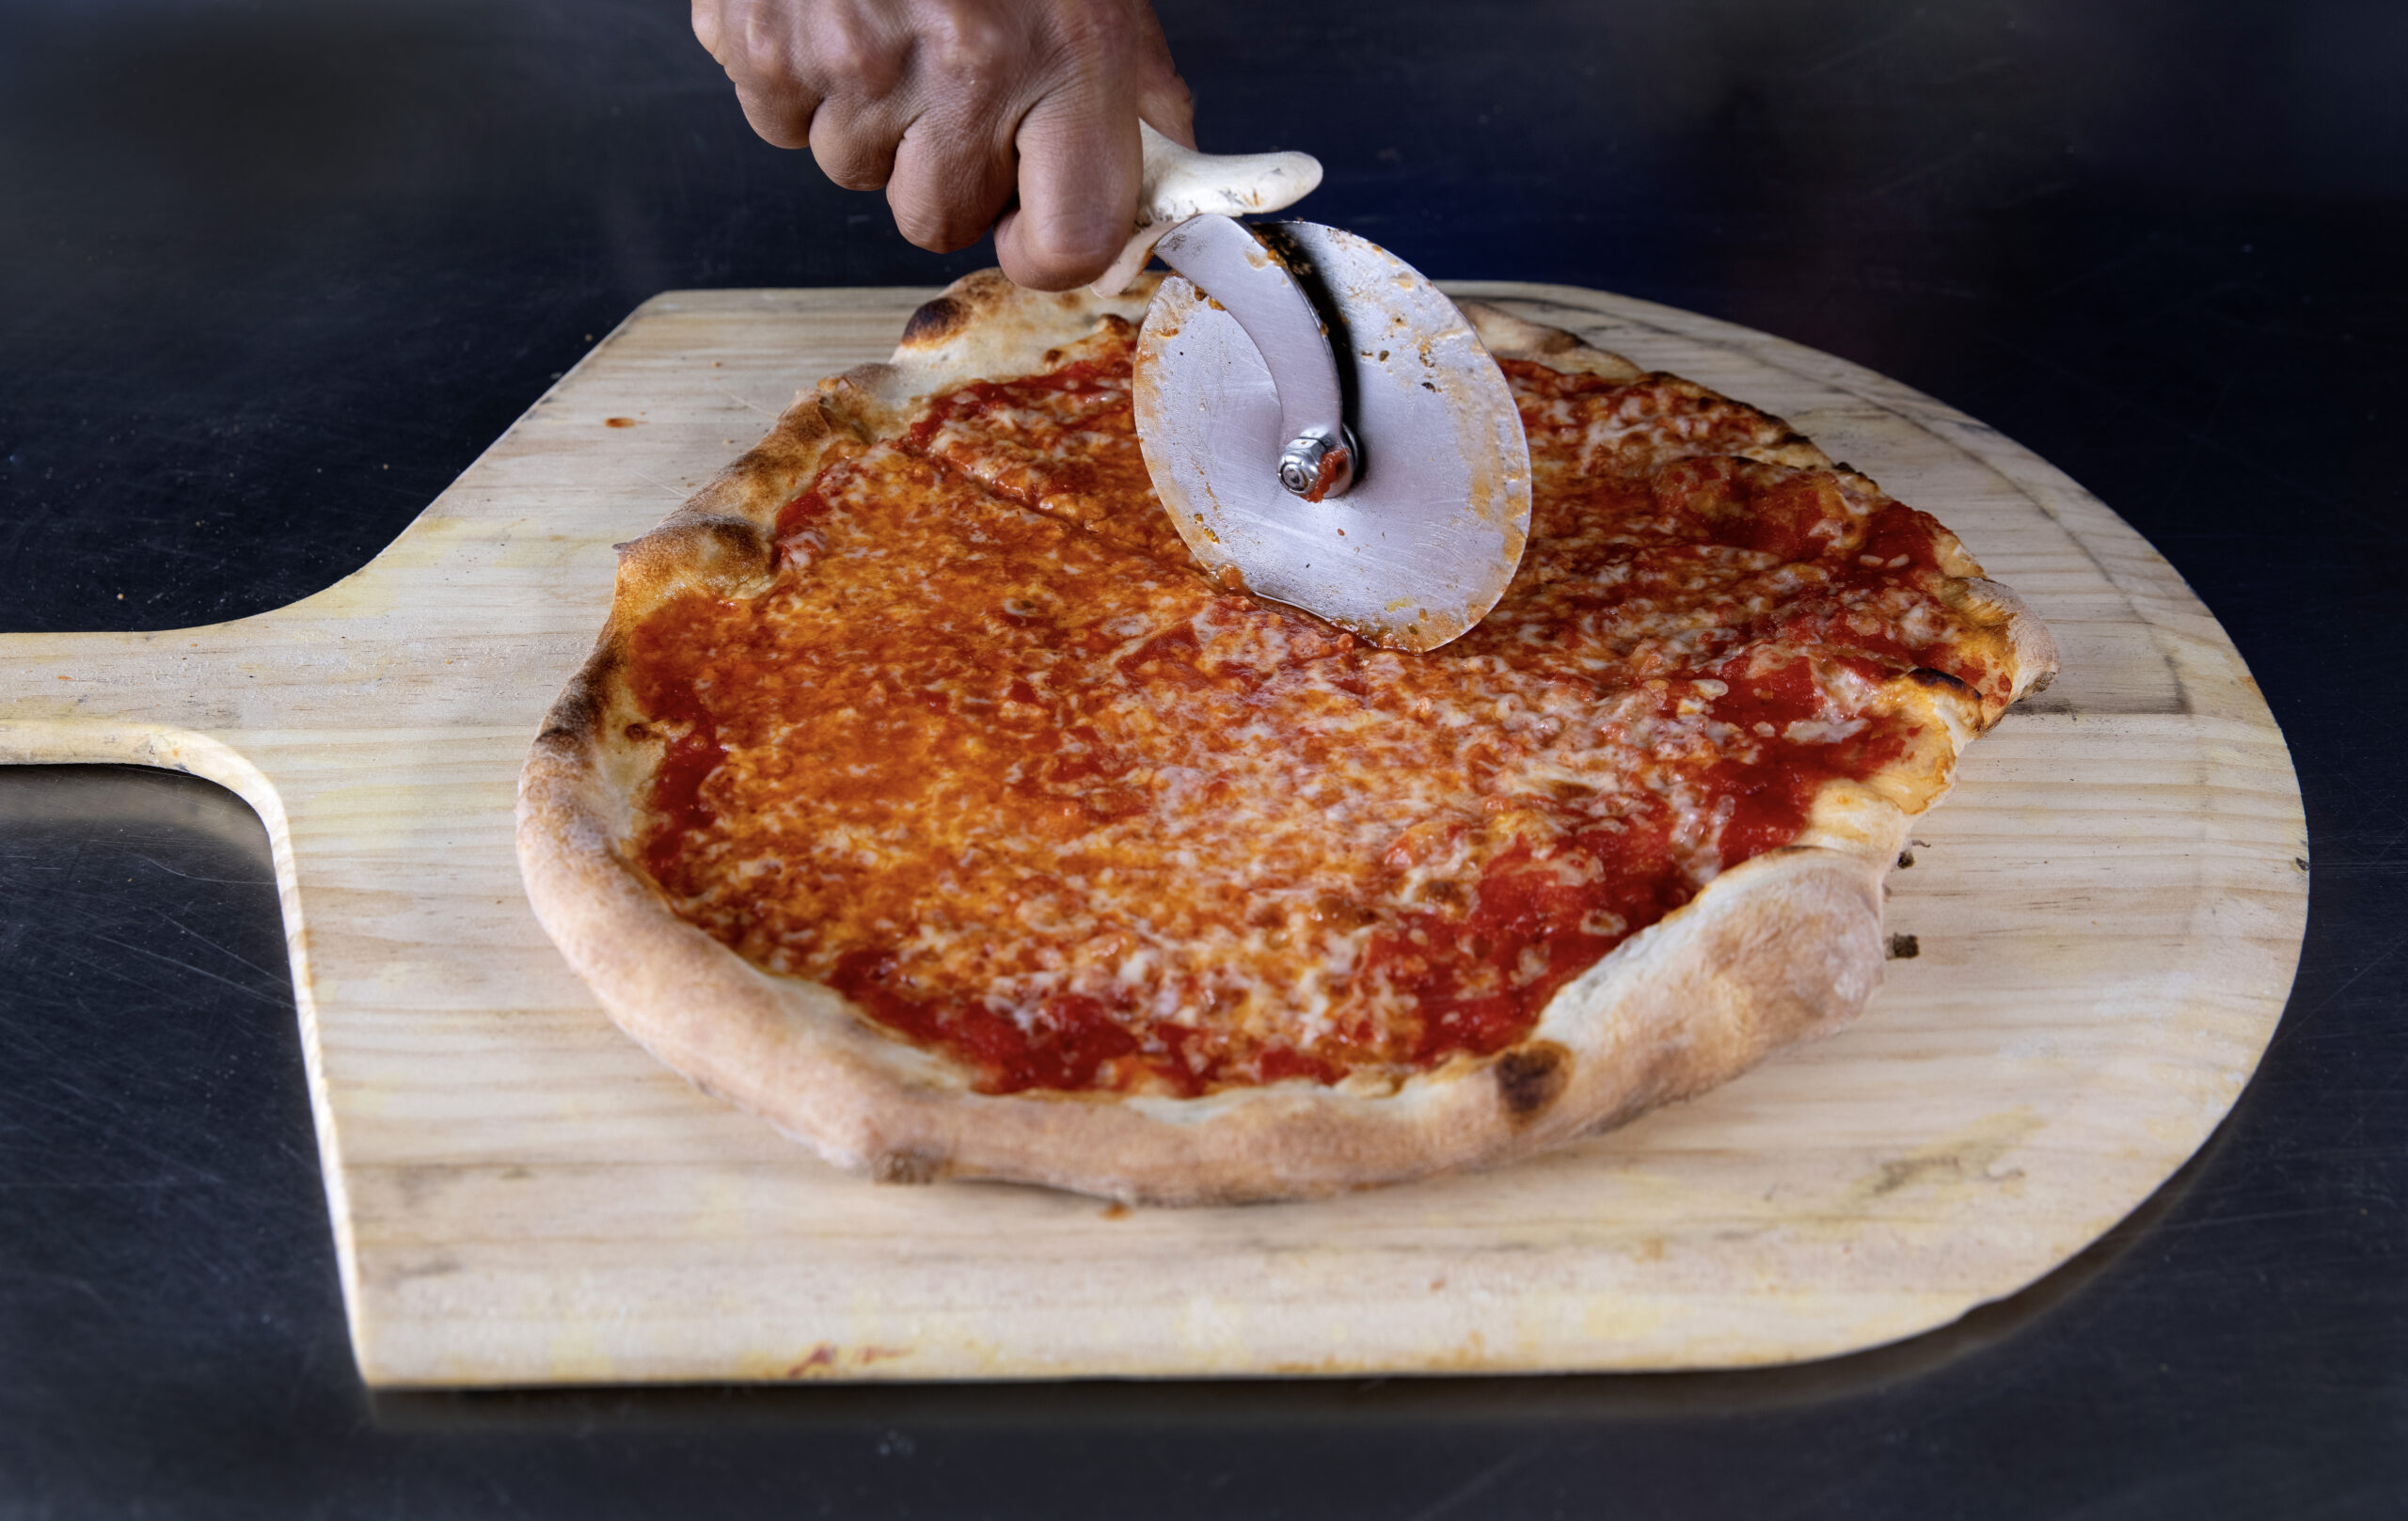
Leftover pizza has a strange reputation. People treat it like a compromise, something you eat cold over the sink or microwave when you are too tired to care. That is a shame, especially with a good cheese pizza. A plain pie has nowhere to hide. When you reheat it badly, every flaw shows up at once. The crust turns limp or leathery, the cheese separates into grease, and the sauce goes from bright to tired in a matter of minutes.
Reheated well, though, cheese pizza can be remarkably close to fresh. Not identical, because the oven is not still blazing at the pizzeria and the moisture balance has changed overnight, but close enough that the difference feels minor. The crust can crisp, the bottom can regain structure, and the cheese can soften without sliding off in one molten sheet. That result is not luck. It comes down to controlling heat, moisture, and time.
After years of reheating slices in home kitchens, testing every shortcut people swear by, and fixing more than a few soggy mistakes, one method stands above the rest for most situations: the skillet method, finished with a little steam and a lid. It is fast, consistent, and especially kind to cheese pizza, which needs a crisp base and gentle top heat more than it needs brute force.
Why reheating cheese pizza is trickier than it looks
Cheese pizza seems simple. Dough, sauce, cheese. That simplicity is exactly what makes reheating demanding. Toppings like pepperoni or sausage carry their own fat and flavor, so even if the crust softens a bit, you still get a punch of texture and taste. With cheese pizza, the crust is half the experience. If it loses its crispness, the whole slice feels flat.
The problem starts with the refrigerator. Cold storage changes the pizza overnight. Moisture from the sauce and cheese migrates into the crust. Fat in the cheese firms up. The once-crackly bottom becomes dense and a little damp. When you reheat the slice, you are trying to reverse that process without drying everything out.
That means two things have to happen at the same time. First, the crust needs direct heat so moisture can evaporate and the bottom can crisp. Second, the cheese and sauce need enough gentle heat to warm through without scorching. Most bad reheating methods handle only one of those needs. The microwave warms the top but ruins the crust. A hot oven can revive the crust, but it often takes longer than most people want for one or two slices. Toaster ovens can work very well, though results vary a lot by model. Air fryers are convenient, but they can overshoot quickly and toughen the cheese if you are not careful.
The best method is the one that balances both needs with the least fuss.
The method that works best for most people
If I have one or two slices of cheese pizza, I reach for a nonstick or cast-iron skillet before anything else. It gives the crust direct contact with heat, which is exactly what it needs, and it lets you control the top with a splash of water and a lid. That last part matters more than many people realize. The steam melts and refreshes the cheese without drenching the crust, because the water never touches the pizza itself.
Here is the process I recommend:
- Set a skillet over medium to medium-low heat and place the slice in the dry pan.
- Let the bottom warm and crisp for about two to four minutes, depending on the thickness of the crust.
- Add a few drops of water to the empty side of the pan, not on the pizza, then cover with a lid immediately.
- Steam for about thirty seconds to one minute, just until the cheese loosens and the top is heated through.
- Uncover, check the bottom, and cook a little longer if you want extra crispness.
That is the whole routine. It sounds almost too simple, but it solves the core reheating problem better than anything else in a standard home kitchen.
The skillet reheats from the bottom up, which restores structure to the crust. The short burst of steam takes care of the cheese without forcing you to blast the whole slice with dry heat. When you lift the pizza out, the underside has bite, the cheese is soft, and the sauce tastes warm rather than cooked to death. On a thin-crust cheese pizza, this can take less than five minutes. On a thicker New York style slice, maybe six.
There is one judgment call involved, and it comes with experience. Heat that is too high will brown the bottom before the cheese has time to warm. Heat that is too low will warm the slice gently but never drive off enough moisture to regain crispness. Medium-low to medium is the sweet spot in most kitchens, but stoves differ. The first time you try it, stay close and lift the edge after a couple of minutes to check color.
Why the microwave disappoints almost every time
People keep microwaving pizza because it is fast, not because it is good. It heats the water in the slice quickly, which sounds useful until you think about where that water is. Much of it sits in the sauce, the cheese, and the crust itself. Instead of crisping anything, the microwave encourages steaming from within. The result is familiar: floppy tip, rubbery cheese, hot spots on the surface, and a crust that bends like cardboard after the first minute.
There are hacks, of course. Some people put a cup of water in the microwave beside the pizza. Some use special crisper trays. Some reheat at reduced power in short bursts. Those tweaks can make the result less awful, but they do not change the underlying weakness of the method. Microwaves do not excel at drying and re-crisping bread-like foods.
If the choice is microwave or nothing, there is a way to make it more tolerable. Heat the slice in very short bursts, around twenty to thirty seconds at a time, and stop as soon as the cheese is just warm. Then, if possible, move it to a hot pan for a minute to restore some structure. But if you have access to a stovetop, starting with the skillet is smarter from the beginning.
When the oven is the better tool
The skillet wins for a couple of slices, but the oven takes over when you are reheating several at once. If you have half a pie left from last night and want all of it ready together, the oven gives you the most even result with the least babysitting. It also handles different crust thicknesses more gracefully than a pan.
The key is to preheat properly. A lukewarm oven is not reheating, it is slow warming, and slow warming tends to dry the cheese before the crust crisps. I usually aim for 375 to 400 degrees Fahrenheit for standard slices. Put the pizza on a preheated sheet pan, a pizza stone, or directly on the oven rack if you are comfortable doing that. A hot surface underneath helps the crust recover more quickly.
For refrigerated cheese pizza, expect something in the range of six to ten minutes, depending on thickness and your oven. Thin slices can move fast. Deep, bready slices take longer. You are looking for a softened, glossy cheese surface and a crust that feels firm when lifted, not limp at the center. If you wait until the cheese starts browning heavily, you have usually gone a bit too far for a plain cheese pizza.
The oven has one clear advantage over the skillet: it can restore a whole pie with less active attention. Its weakness is speed. Heating the oven may take longer than reheating the pizza itself. On a busy afternoon, that alone often pushes people back to the skillet.
The air fryer question
Air fryers are good at pizza, sometimes very good, but they are less forgiving than people admit. Because the circulating heat is intense and the space is compact, slices can go from revived to overdone surprisingly fast. On the other hand, if your model runs gently and you learn its quirks, it can produce an excellent crisp crust.
For cheese pizza, I treat the air fryer as a small, aggressive oven. Moderate settings are safer than max heat. Somewhere around 325 to 350 degrees Fahrenheit is usually enough. In many units, two to four minutes will do it. The cheese should melt smoothly. If it starts bubbling furiously or browning before the crust has had time to settle, the temperature is too high.
The biggest limitation is capacity. Most baskets fit one or two slices comfortably, maybe three if you crowd them, and crowding hurts airflow. That makes the air fryer less useful for group leftovers and more useful for solo lunch.
If you like air fryer pizza, great. Just know that the margin for error is narrower than with a skillet. Cheese pizza especially can toughen quickly when blasted with too much dry heat.
Small details that change the outcome
A lot of reheating advice focuses on the appliance, but several smaller choices matter just as much. These are the details that often explain why one reheated slice tastes almost fresh and another tastes tired.
Cold pizza straight from the refrigerator can go right into the skillet or oven. You do not have to bring it fully to room temperature first. That said, if the slice has been very cold in the back of the fridge, giving it five to ten minutes on the counter can help it warm more evenly. I do this more with thicker slices than thin ones.
The pan itself matters. A heavy cast-iron skillet gives excellent bottom crispness because it holds heat steadily. A decent nonstick pan is also effective and simpler for many people. Thin, flimsy pans tend to create hot spots, which means burnt edges and a pale center.
Lids help. If you do not have a perfectly matching lid for your skillet, use a sheet pan, a splatter screen topped loosely with foil, or another pan inverted over the top. The goal is simply to trap enough steam for a short moment so the cheese relaxes.
Resist the urge to add oil to the pan. Pizza already carries enough fat, especially in the cheese. Extra oil often makes the bottom feel fried rather than crisp. Dry heat works better.
Pay attention to the crust style. A thin, foldable New York style slice reheats quickly. A thicker pan-style slice needs more time for the interior crumb to warm. A very delicate artisan crust can char faster than you expect. The best reheating method is still the skillet or oven, but the timing changes.
Cheese pizza behaves differently from topped pizza
If you reheat all pizza the same way, cheese pizza will often expose the weakness in your method. It lacks the protective layer that bulky toppings provide. Vegetables, meats, and extra cheese can shield the surface from direct heat and keep the slice feeling moist even if the crust is only moderately crisp. A plain cheese slice depends on a cleaner balance.
The sauce is part of that balance. Too much heat for too long can make the sauce taste concentrated and slightly harsh, especially if it was already on the tangy side. Good reheating warms the sauce without reducing it further. That is one reason the skillet-steam method works so well. The top gets enough warmth to soften and revive, not enough to overcook.
Mozzarella texture is another issue. Freshly baked cheese stretches because the proteins and fat are in a particular state. After chilling, those structures tighten. Reheating too hard can force the fat out, leaving greasy patches on the surface and a tougher, less creamy texture underneath. Gentle top heat avoids that problem better than blasting the slice in a very hot environment.
This is also why I do not recommend trying to “improve” leftover cheese pizza by piling on extra cheese before reheating. It sounds indulgent, but it often makes the slice wetter and heavier. If the original pizza was well made, your best move is to restore what was there, not bury it.
The mistakes that ruin leftover pizza
Most failures come from impatience. People want the pizza hot in ninety seconds, and the methods that move that quickly tend to compromise texture. Once the crust goes soggy, there is no perfect rescue. You can crisp the exterior somewhat, but the interior structure has already absorbed too much moisture.
A close second is excessive heat. Very high temperatures feel efficient, but they do not give the interior enough time to catch up. You end up with scorched bottom, still-cool center, and cheese that has crossed from melted into oily. That is especially common in air fryers and toaster ovens.
Storage errors matter too. Leftover slices shoved loosely into a greasy box absorb fridge odors and collect condensation. The crust softens before reheating even begins. If you care about quality, move the slices to an airtight container or wrap them well once they have cooled. A sheet of parchment between stacked slices helps preserve the surface. Better storage does not make the reheating method less important, but it gives that method a fair chance.
Then there is overholding. Freshly reheated pizza is at its best right away. Let it sit around for ten or fifteen minutes and steam starts to soften the crust again. If you are reheating several slices for a table, time them so they are eaten promptly.
What to do with different quantities
One slice and four slices are different jobs. People often look for one universal answer, but the best tool depends partly on volume.
For one or two slices, the skillet is hard to beat. It is fast, economical, and gives excellent control. For three to five slices, a toaster oven or standard oven starts to make more sense, especially if you want them all ready together. For larger amounts, use the oven without hesitation.
Here is a quick way to think about it:
| Amount of pizza | Best method | Why it works | | --- | --- | --- | | 1 to 2 slices | Skillet with lid | Fastest route to crisp crust and melted cheese | | 3 to 5 slices | Toaster oven or oven | Better batch consistency | | Half a pie or more | Standard oven | Even reheating with less active work |
Even in batch situations, the principle stays the same. You want dry heat under the crust and enough top heat to soften the cheese without overcooking it.
A note on frozen leftover slices
Sometimes leftover cheese pizza sits in the freezer rather than the refrigerator. That changes the job a little. Freezing locks in quality better than letting pizza languish in the fridge for several days, but it also makes the crust more vulnerable to drying if reheated carelessly.
You can go straight from frozen to oven or air fryer. The skillet can work too, though it takes a little more patience and a slightly lower heat at the start. In the oven, I prefer a moderate temperature rather than an extremely high one, because it gives the center time to thaw and warm before the exterior hardens.
Do not thaw frozen pizza on the counter for a long time. That often creates surface moisture, and surface moisture is the enemy of crispness. If you want to take the chill off, do it briefly, not for an hour. A direct trip into controlled heat is usually better.
The best result is usually a little less hot than people think
A common misunderstanding is that reheated pizza should be piping hot all the way through. Freshly baked pizza from a pizzeria often arrives hotter than most people realize because it has just come from a very hot deck oven. At home, if you chase that same level of heat aggressively, you often overshoot the ideal texture. With cheese pizza, the sweet spot is usually warm to hot throughout, with fully melted cheese and a crisp bottom, not lava-hot sauce that burns the roof of your mouth.
That may sound like a small distinction, but it changes how you reheat. Instead of trying to blast the slice into submission, you let the crust recover first and the cheese follow. That mindset alone improves results.
If you only remember one approach
For a typical leftover slice of cheese pizza, use a skillet over medium-low to medium heat. Start it dry so the bottom can brooklynpizzaboulder.com Cheese Pizza crisp. Once the crust feels revived, add a few drops of water beside the slice and cover the pan briefly to melt the cheese. Then uncover and finish for a moment if needed.
It takes only a few minutes, requires no special equipment, and produces the texture most people actually want when they say they want pizza “like fresh.” Not identical to the first bake, because nothing truly is, but crisp where it should Cheese Pizza be crisp, tender where it should be tender, and satisfying enough that leftover cheese pizza stops feeling like leftovers at all.
Brooklyn Pizza
1647 Arapahoe Ave
Boulder, CO 80302
+1 720-328-2324
FAQ About Cheese Pizza
What type of cheese is used on a cheese pizza in Boulder, CO?
The cheese varies by pizzeria. Brooklyn Pizza uses whole-milk mozzarella made in-house on its standard pies and offers a plant-based cheese option for vegan pizza. Ask the shop directly about ingredients if you have a dietary restriction.
How many slices are in a large pizza in Boulder, CO?
Slice count depends on how the shop cuts the pie. Brooklyn Pizza lists a 16-inch large pizza. If you are ordering for a group, call to confirm the number of slices or ask whether a smaller cut is available.
What is New York style pizza in Boulder, CO?
New York-style pizza usually has a thin crust and wide slices that can be folded. A classic cheese slice pairs tomato sauce with mozzarella. Brooklyn Pizza serves New York-style pizza by the slice and as whole pies.